Phase 1: Prerequisites 🏚️
- Deployment Role Issue: https://github.com/code259/sprint4_frontend/issues/34#issue-2824212930
- Frontend: Ensure that all data is properly displayed to user and that users can interact with the data in accessible and easy to interface mechanisms.
- Frontend to Backend Integration: Verify that all fetch request (call to algorithm) are working and provide the required data for frontend function.
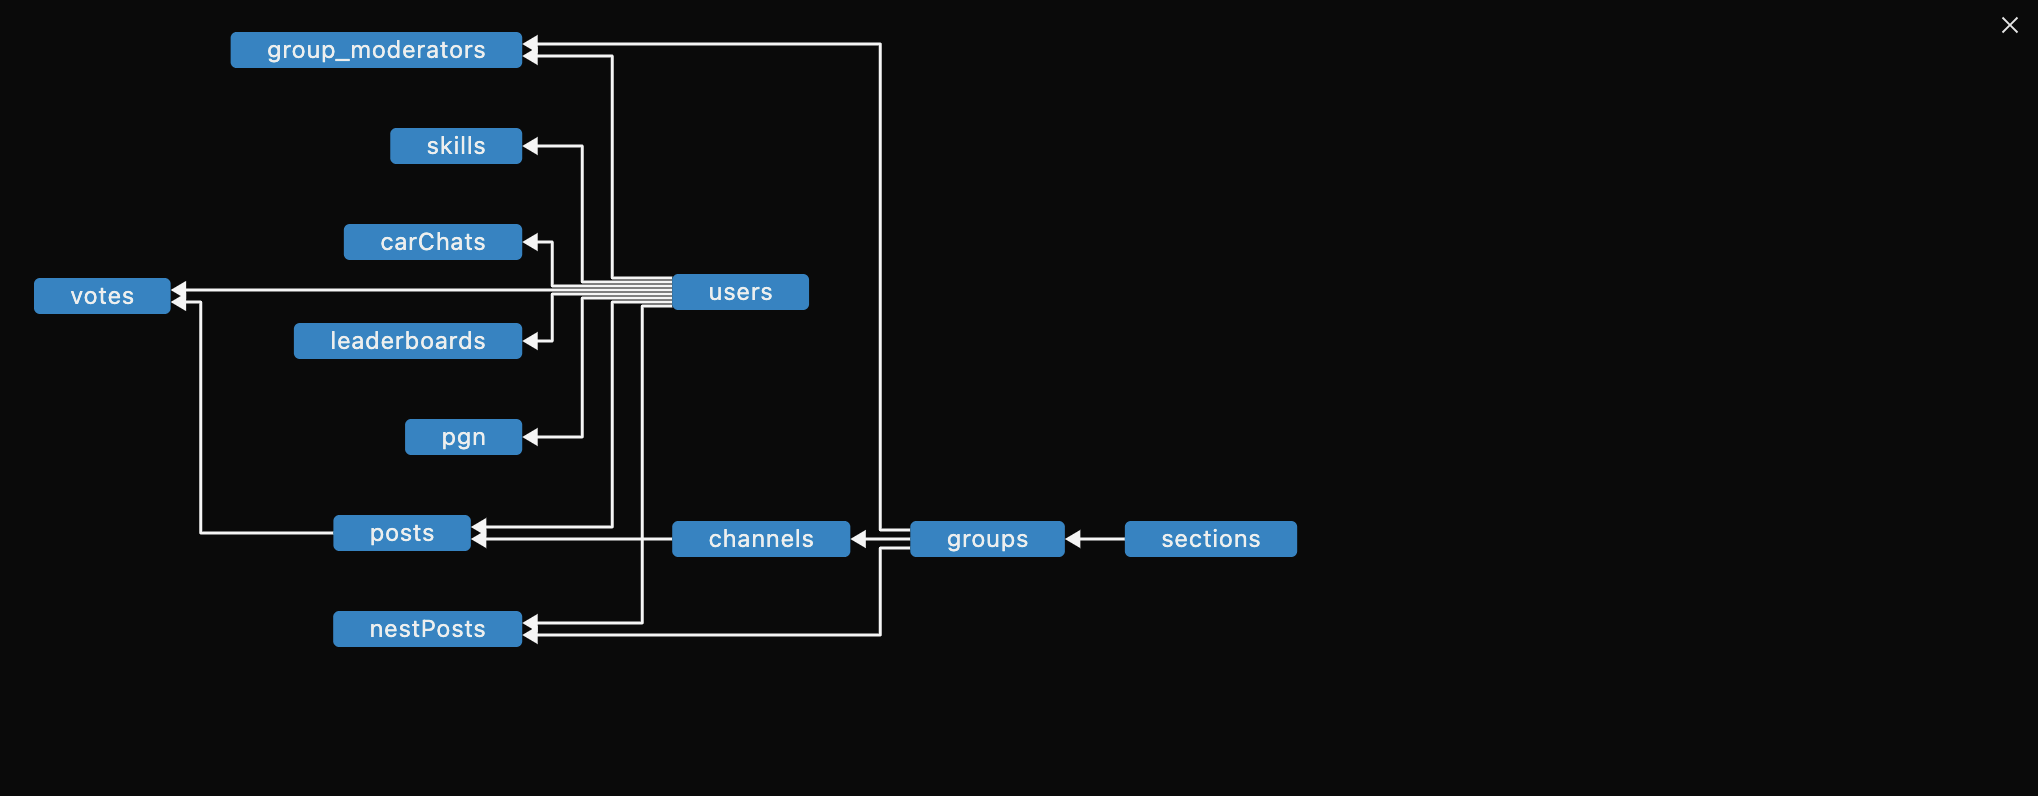
- Backend: Verify user authentication and database - check the ./scripts/db_init.py to ensure all the tables are properly generated with data. Ensure that all tables have proper refrences, and have right data types. Ensure that there are no redundant tables with overlapping data. Add user_authentications to API endpoints when necessary to ensure proper functioning.
Key Deployment Terms:
- Amazon EC2 (Elastic Compute Cloud): A web service that provides resizable compute in the cloud, allowing users to run various applications on virtual servers.
- Docker: A platform that automates the deployment of applications inside lightweight, portable containers, ensuring consistency across release cycles.
- Docker Compose: A tool for defining and running Docker applications. Utilizes a YAML file to configure the application’s services, networks, and volumes.
- Nginx: A high-performance web server and reverse proxy server that directs client requests to the appropriate backend services, enhancing load balancing and scalability.
- Route 53: AWS’s scalable Domain Name System (DNS) web service that translates domain names into IP addresses, routing end-user requests to applications running on AWS or on-premises.
- Certbot: A tool for automatically using Let’s Encrypt certificates on manually-administrated websites to enable HTTPS.
Refrences:
- https://middleware.io/blog/aws-terminology-101-a-complete-glossary/
- https://www.cloudwolf.com/resources/aws-architecture-and-deployment-best-practices-for-beginners
- https://www.geeksforgeeks.org/how-to-build-a-ci-cd-pipeline-with-aws/
- https://www.pluralsight.com/resources/blog/cloud/your-aws-terminology-cheat-sheet
- https://docs.aws.amazon.com/glossary/latest/reference/glos-chap.html
- https://docs.aws.amazon.com/codecatalyst/latest/userguide/deploy-tut-ecs.html
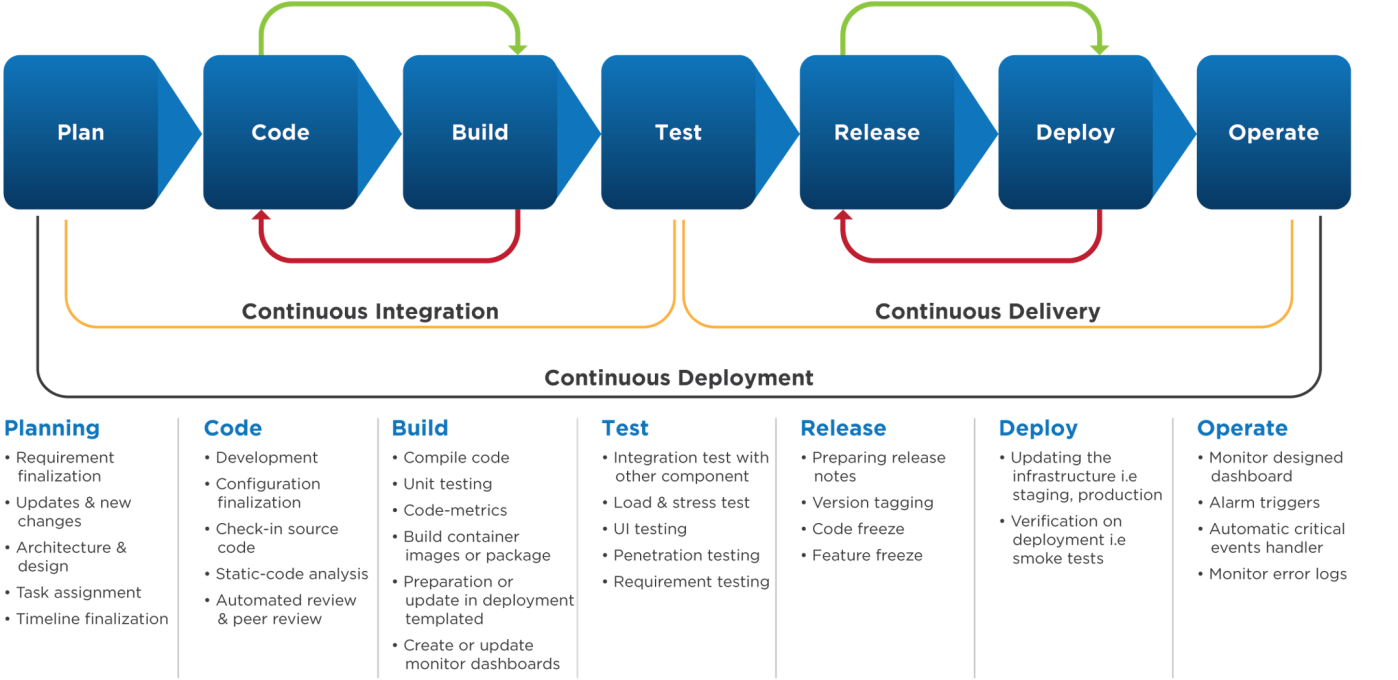
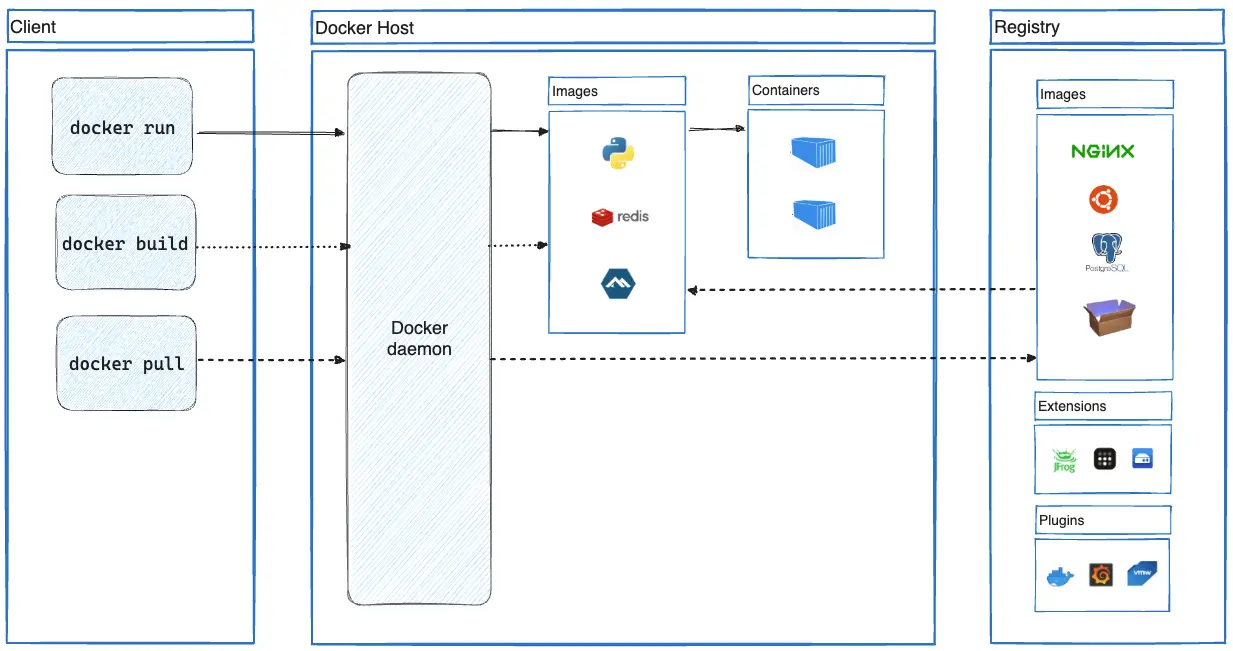
Diagrams:
- This deployment process is similar to process we are implementing.

- General deployment workflow.
Phase 2: Process 🪛
- Docker & Port Setup
- Modify port on the backend to prevent conflicts with other servers, use unique port assigned to our table (8401).
- Prepare the Dockerfile to containerize the application and prepare for deployment.
FROM docker.io/python:3.11

  WORKDIR /

  # --- [Install python and pip] ---
  RUN apt-get update && apt-get upgrade -y && \
      apt-get install -y python3 python3-pip git
  COPY . /

  RUN pip install --no-cache-dir -r requirements.txt
  RUN pip install gunicorn

  ENV GUNICORN_CMD_ARGS="--workers=1 --bind=0.0.0.0:8401"

  EXPOSE 8401

  # Define environment variable
  ENV FLASK_ENV=production

  CMD [ "gunicorn", "main:app" ]
- Create docker-compose.yml: prepare the “make” equivalent of the dockerfile. Changed ports to 401. ``` version: ‘3’ services: web: image: sprint4_backend build: . env_file: - .env ports: - “8401:8401” volumes: - ./instance:/instance restart: unless-stopped
- Make nginx file, and test container builds on the local machine. Changed allow methods to accept PATCH request as well.
server { listen 80; listen [::]:80; server_name flask2025.nighthawkcodingsociety.com;
  location / {
      proxy_pass http://localhost:8087;

      # Preflighted requests
      if ($request_method = OPTIONS) {
          add_header "Access-Control-Allow-Credentials" "true" always;
          add_header "Access-Control-Allow-Origin"  "https://nighthawkcoders.github.io" always;
          add_header "Access-Control-Allow-Methods" "GET, POST, PATCH, PUT, DELETE, OPTIONS, HEAD" always;
          add_header "Access-Control-Allow-MaxAge" 600 always;
          add_header "Access-Control-Allow-Headers" "Authorization, Origin, X-Origin, X-Requested-With, Content-Type, Accept" always;
          return 204;
      }
  }   } ``` - Setup frontend port, by changing the pythonURI in assets/api/config.js. ```  export var pythonURI;   if (location.hostname === "localhost" || location.hostname === "127.0.0.1") {
  pythonURI = "http://localhost:8087";  // Same URI for localhost or 127.0.0.1   } else {
  pythonURI = "https://flask2025.nighthawkcodingsociety.com";   } ```
- AWS and Route 53 Setup
- Configure EC2 instance access: Login to AWS Console using your account. Navigate to “EC2” and the “Instances” dropdown.
- For this project, select either “CSP” in the dropdown.
- In AWS EC2 terminal: review list and find a port number starting in 8— that is not in use. Run
docker psto find all the available ports.
Local Machine: - Open backend repo - Ensure dockerfile and docker-compose.yml match the port from the EC2 terminal - Test
docker-compose upin vscode terminal, cd into right directory and then open on localhost,http://localhost:8---EC2 terminal:
- Clone backend repo
git clone github.com/server/project.git my_unique_name - Navigate to repo
cd my_unique_name - Build site with docker
- Then test site with curl request
curl localhost:8--- - Troubleshooting: This should show you all the html content of your home page. If this provides 500 error you need to check your site on localhost. If it produces broken pipe error you need to check your ports between docker-compose.yml and Docker files. If the page does not have your content, you need to check
docker psto see ports in use.
- Set up Route 53 DNS records
- Create a hosted zone in Route 53 for the domain.
- For the Route 53 DNS: “projectUniqueName, CNAME, csa.nighthawkcodingsociety.com”
- Nginx
- Configure Nginx reverse proxy
- Navigate in terminal to nginx
cd /etc/nginx/sites-available - Create an nginx config file
sudo nano projectUniqueNameservserver { listen 80; listen [::]:80; server_name flask2025.nighthawkcodingsociety.com; location / { proxy_pass http://localhost:8087; # Preflighted requests if ($request_method = OPTIONS) { add_header "Access-Control-Allow-Credentials" "true" always; add_header "Access-Control-Allow-Origin" "https://nighthawkcoders.github.io" always; add_header "Access-Control-Allow-Methods" "GET, POST, PUT, DELETE, OPTIONS, HEAD" always; add_header "Access-Control-Allow-MaxAge" 600 always; add_header "Access-Control-Allow-Headers" "Authorization, Origin, X-Origin, X-Requested-With, Content-Type, Accept" always; return 204; } } } - Save changes.
- Activate configuration. Create a symbolic link (change projectUniqueName to your nginx config file name).
- Validate by running:
sudo nginx -t - Restart nginx by running:
sudo systemctl restart nginx - Test your domain name on your desktop browser now (only http://, not https://)
- Navigate in terminal to nginx
-
Implement SSL with Certbot to get “HTTPS”
sudo certbot --nginxand follow command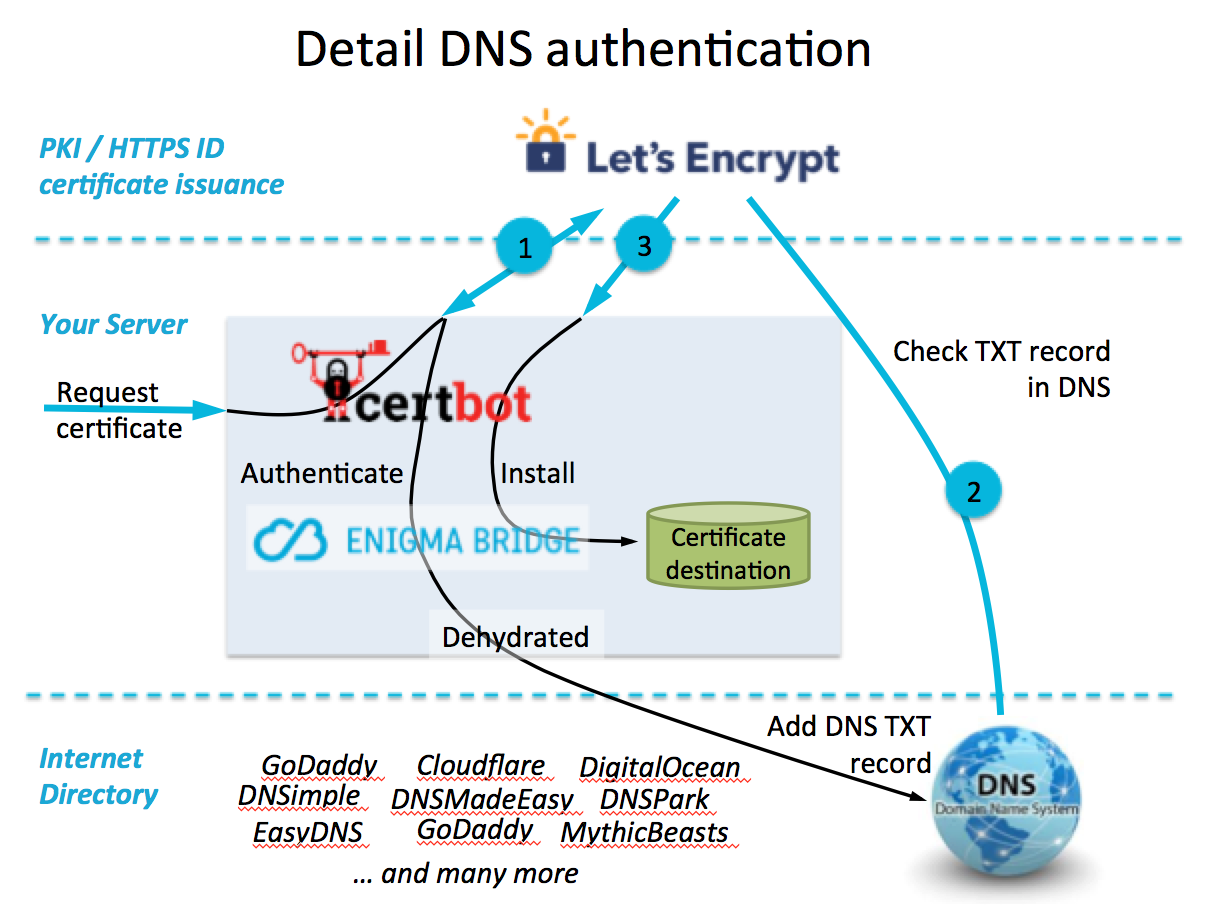
- Changing Code after Deployment
- Local File Changes
- Update all local changes with other users, to ensure that the codebase is the same across all users.
- Start the Docker Desktop App, and test the build
- Sync and git push
- Troubleshooting
- Run: docker-compose ps, to very containers is up
- Run: docker ps, to check on all containers and images
Quick Notes 📌
- To login to the deployment server on AWS EC2 you will use cockpit backdoor. (https://cockpit.stu.nighthawkcodingsociety.com/)
Password will be the “3 Musketeers”.
First Time Install:
- Login
- Clone your repo
- In your project directory,
- create a .env file with passwords
- run ./scripts/db_init.py
- In your repo run Docker commands
- docker-compose build
- docker-compose up -d
- Test your server, curl provides text response of your requested page
- docker ps # look for you application and port
- curl localhost:8087 # remember 8087 is mine, mine. mine
- Now you are ready for AWS and Route53 Domain Name registration. You will need to DM me if you will be doing Domain Name registration and will need and AWS account.
-
AWS Console sign-in URL: https://nighthawkcodingsociety.signin.aws.amazon.com/console User name: ubuntu -
*** Note. We don’t write passwords in our blogs or commit them to GitHub.
- After AWS Login you will register domain on Route53: https://us-east-1.console.aws.amazon.com/route53/v2/hostedzones?region=us-east-1#ListRecordSets/Z09610033A3V5NNQF4NH5
-
** flask in illustration is mine, mine, mine
- Test you DNS server in any terminal (MacOs, WSL, or AWS). Be sure it command returns IP address in answer section.
(venv) johnmortensen@Mac portfolio_2025 % dig flask.stu.nighthawkcodingsociety.com

; <<>> DiG 9.10.6 <<>> flask.stu.nighthawkcodingsociety.com
;; global options: +cmd
;; Got answer:
;; ->>HEADER<<- opcode: QUERY, status: NOERROR, id: 58645
;; flags: qr rd ra; QUERY: 1, ANSWER: 1, AUTHORITY: 0, ADDITIONAL: 1

;; OPT PSEUDOSECTION:
; EDNS: version: 0, flags:; udp: 512
;; QUESTION SECTION:
;flask.stu.nighthawkcodingsociety.com. IN A

;; ANSWER SECTION:
flask.stu.nighthawkcodingsociety.com. 300 IN A	3.130.255.192

;; Query time: 150 msec
;; SERVER: 2603:8001:4f00:4079::1#53(2603:8001:4f00:4079::1)
;; WHEN: Sat Feb 01 21:35:20 PST 2025
;; MSG SIZE  rcvd: 81
- Final steps are Nginx and Certbot. We will do these steps in a live Tech Talk. You should prep as it will be graded.